Marbled Mint Brownies
Highlighted under: Homemade Desserts
I absolutely love baking marbled mint brownies! The combination of rich chocolate and refreshing mint creates a delightful treat. I remember the first time I made these; the swirls of green from the mint layer against the dark chocolate was simply mesmerizing. Each bite delivers a perfect balance of flavors, making it a favorite among friends and family. Whether for a special occasion or just because, these brownies are a crowd-pleaser and always disappear quickly from the plate.
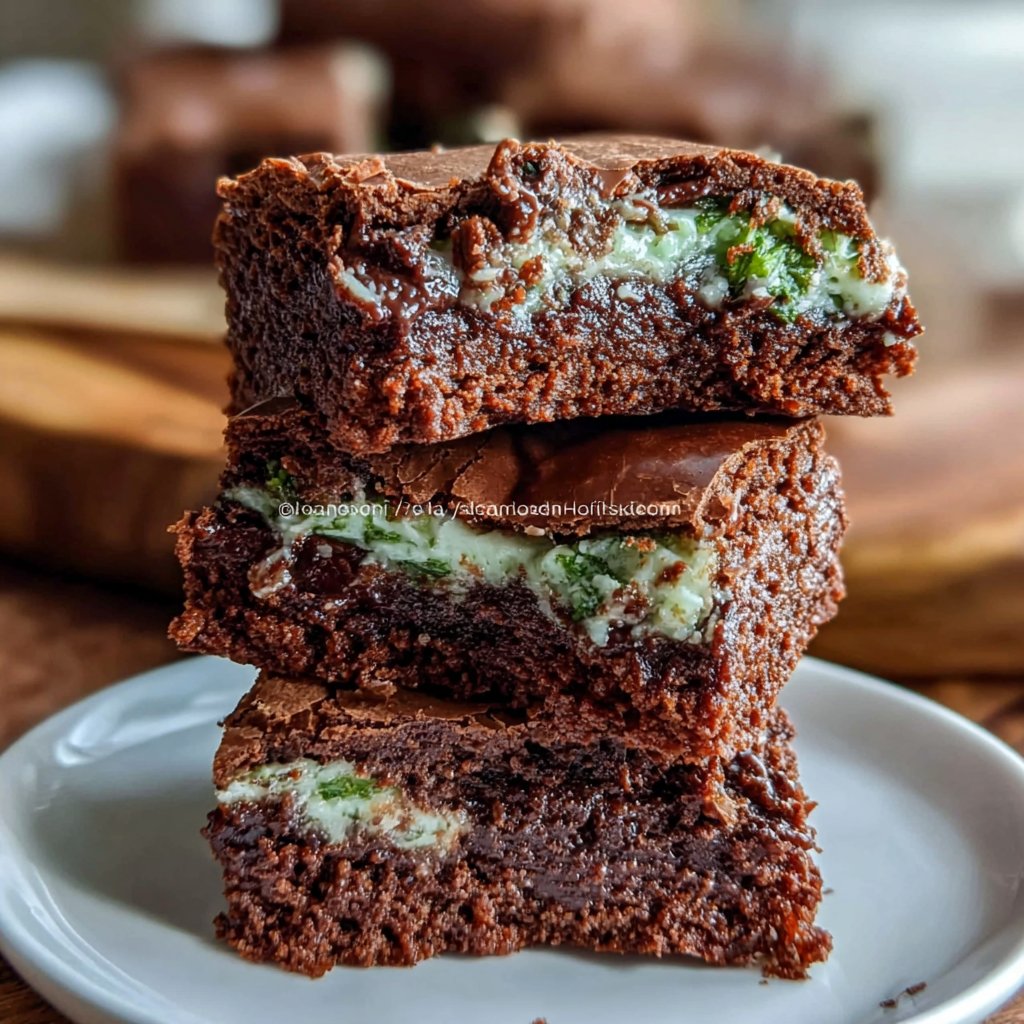
Baking these marbled mint brownies was an adventure in flavor for me! Trying the different layering techniques not only made it visually stunning but also highlighted the distinct minty freshness. I found that swirling the mint mixture with the chocolate batter gently helps achieve that beautifully marbled effect without overmixing.
On my first attempt, I added chocolate chips to the brownie layer for an extra burst of chocolaty goodness. The result was even better than I expected, and I think this little twist really takes these brownies to the next level!
Why You'll Love These Brownies
- Decadent chocolate flavor enhanced with refreshing mint
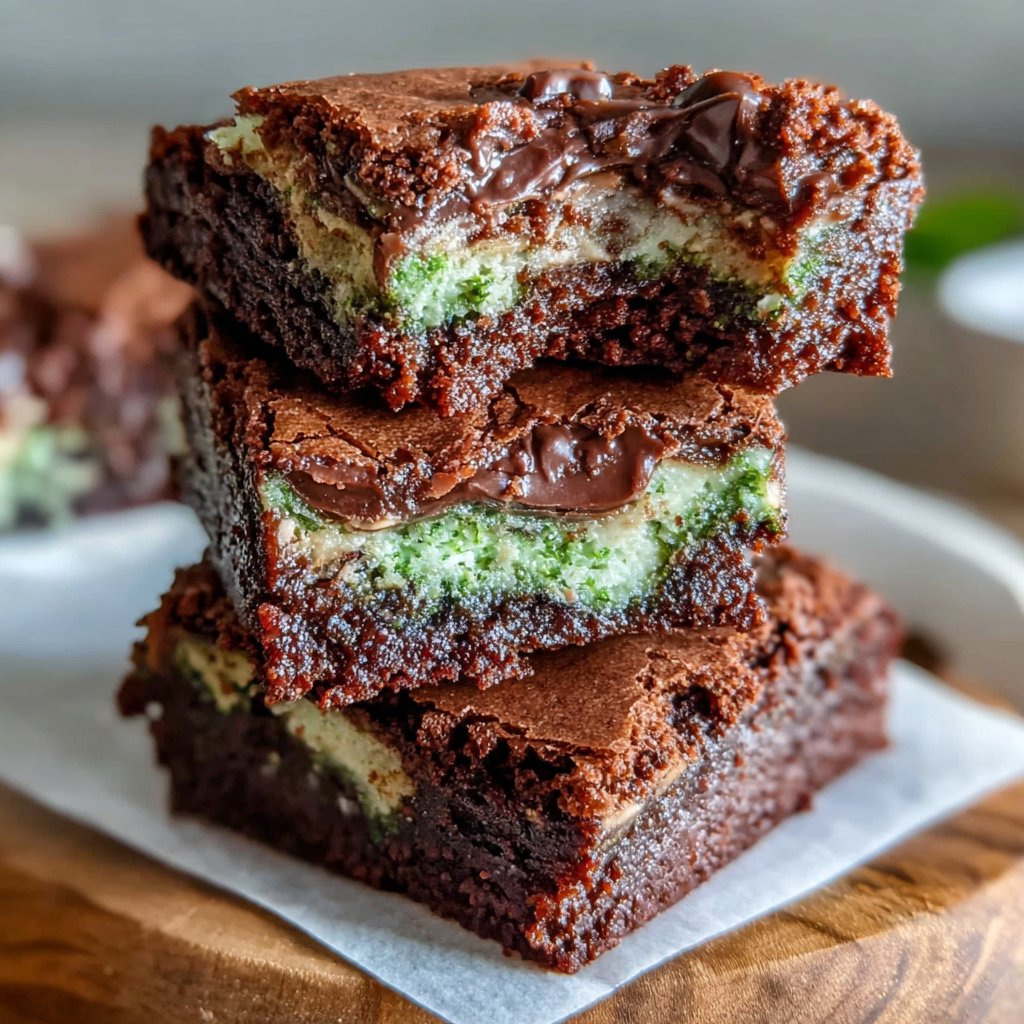
- Visually stunning presentation with beautiful marble swirls
- Perfect for any celebration or a simple sweet craving
Creating the Perfect Brownie Base
The brownie base is crucial for achieving that rich, fudgy texture. When melting the butter, make sure to do it over low heat to avoid burning. Once melted, it should be warm but not bubbling when you mix in the sugar and eggs. This helps create a glossy batter that’s a hallmark of great brownies. After mixing in the dry ingredients, be careful not to overmix; you want to just combine until you see no flour streaks for optimal fudginess.
One key to making sure your brownies are a success is the chocolate chips. Use high-quality chocolate chips, as they enhance the cocoa flavor. If you're feeling adventurous, you can substitute half of the chocolate chips with chopped nuts or a mix of different chocolate types—dark, milk, or even white chocolate—for added texture and flavor. Just keep in mind that this may alter the overall sugar balance slightly.
Mastering the Mint Layer
When preparing the mint layer, it’s crucial to ensure that the butter is softened, not melted. This facilitates a smoother consistency that blends well with the powdered sugar. If you find the mixture too thick, add a little more milk, a tablespoon at a time, until you achieve a spreadable consistency without it becoming runny. The goal is a creamy layer that will hold its shape when swirled with the brownie batter.
If you're looking to adjust the mint flavor to your preference, you can vary the amount of peppermint extract. Start with the specified teaspoon and taste the mixture before adding more. Too much can be overpowering, while not enough may result in a less distinct mint flavor. As for the green food coloring, it’s optional but adds a fun visual aspect and invites people to enjoy this festive treat, especially around holidays.
Baking and Serving Your Brownies
Baking time can vary slightly depending on your oven’s calibration. It’s best to check your brownies at the 25-minute mark and then continue baking until they appear set but still soft in the center. You want moist crumbs clinging to the toothpick, not wet batter, as this indicates they might need a little more time. The edges should look firm with just a shy hint of cracking on top, indicating a perfect bake.
Once your brownies have cooled, slicing them can be tricky. For clean cuts, use a sharp knife dipped in warm water, wiping it clean after every cut. This method prevents the brownies from crumbling and helps maintain those beautiful marbled layers. You could also serve these brownies à la mode with a scoop of vanilla ice cream for an indulgent combination, or spritz with a bit of extra mint for a refreshing finish.
Ingredients
For the Brownie Base
- 1 cup unsalted butter
- 2 cups granulated sugar
- 4 large eggs
- 1 teaspoon vanilla extract
- 1 cup all-purpose flour
- 1 cup unsweetened cocoa powder
- 1/2 teaspoon salt
- 1 cup chocolate chips
For the Mint Layer
- 1 cup powdered sugar
- 3 tablespoons unsalted butter, softened
- 2 tablespoons milk
- 1 teaspoon peppermint extract
- Green food coloring (optional)
Instructions
Preheat the Oven
Preheat your oven to 350°F (175°C) and grease a 9x13 inch baking pan.
Make the Brownie Batter
In a medium saucepan, melt the butter. Remove from heat and stir in sugar, eggs, and vanilla. Mix in flour, cocoa powder, and salt until just combined. Fold in chocolate chips.
Prepare the Mint Layer
In a separate bowl, mix powdered sugar, softened butter, milk, peppermint extract, and food coloring until smooth.
Assemble the Brownies
Pour half of the brownie batter into the prepared pan. Spread the mint layer over it, then pour the remaining brownie batter on top. Use a knife to swirl the layers together.
Bake
Bake in preheated oven for 30 minutes, or until a toothpick inserted in the center comes out with a few moist crumbs.
Cool and Serve
Allow the brownies to cool completely in the pan before slicing into squares.
Pro Tips
- For an extra touch, top the brownies with a drizzle of melted chocolate after they've cooled.
Storing and Freezing
Storing your marbled mint brownies correctly can keep them fresh for days. Once cooled, place them in an airtight container at room temperature for up to four days. If you want to keep them longer, consider freezing. Cut the brownies into squares and wrap each piece in plastic wrap, then place them in a freezer-safe container. This way, you can enjoy them within three months, thawing them at room temperature for a quick treat.
If you find yourself with leftover brownie batter, you can use it to make brownie pops. Simply drop spoonfuls onto a baking sheet, freeze until solid, then dip in melted chocolate and sprinkle with crushed mint leaves or nuts. These are perfect for snacking and a fun way to showcase any extra batter without waste.
Flavor Variations
While the mint flavor is refreshing, consider experimenting with other flavorings for a twist. Almond extract can provide a unique taste that pairs beautifully with chocolate, creating a flavor reminiscent of chocolate-covered cherries. You could also incorporate some instant coffee granules into the brownie batter for a mocha flavor. Just remember that adding liquid ingredients may require a slight adjustment to the batter’s consistency.
For a heartier texture, feel free to substitute half of the all-purpose flour with whole wheat flour or even almond flour. Just note that the result may yield a different level of moisture and density, so monitor the baking time closely. Each variation not only changes the flavor profile but also provides a chance to customize these delightful brownies to suit different preferences.
Questions About Recipes
→ Can I use a different flavor instead of mint?
Absolutely! Feel free to substitute mint extract with orange or almond extract for a unique twist.
→ How should I store leftovers?
Store the brownies in an airtight container at room temperature for up to 3 days or in the refrigerator for up to a week.
→ Can I freeze these brownies?
Yes, you can freeze them! Wrap individual pieces tightly in plastic wrap and place them in a freezer bag for up to 3 months.
→ What should I do if my brownies are too fudgy?
If your brownies turn out too fudgy, try baking a few more minutes next time, or reduce the amount of butter slightly.
Marbled Mint Brownies
Created by: The Cheflauracooks Team
Recipe Type: Homemade Desserts
Skill Level: Intermediate
Final Quantity: 9 servings
What You'll Need
For the Brownie Base
- 1 cup unsalted butter
- 2 cups granulated sugar
- 4 large eggs
- 1 teaspoon vanilla extract
- 1 cup all-purpose flour
- 1 cup unsweetened cocoa powder
- 1/2 teaspoon salt
- 1 cup chocolate chips
For the Mint Layer
- 1 cup powdered sugar
- 3 tablespoons unsalted butter, softened
- 2 tablespoons milk
- 1 teaspoon peppermint extract
- Green food coloring (optional)
How-To Steps
Preheat your oven to 350°F (175°C) and grease a 9x13 inch baking pan.
In a medium saucepan, melt the butter. Remove from heat and stir in sugar, eggs, and vanilla. Mix in flour, cocoa powder, and salt until just combined. Fold in chocolate chips.
In a separate bowl, mix powdered sugar, softened butter, milk, peppermint extract, and food coloring until smooth.
Pour half of the brownie batter into the prepared pan. Spread the mint layer over it, then pour the remaining brownie batter on top. Use a knife to swirl the layers together.
Bake in preheated oven for 30 minutes, or until a toothpick inserted in the center comes out with a few moist crumbs.
Allow the brownies to cool completely in the pan before slicing into squares.
Extra Tips
- For an extra touch, top the brownies with a drizzle of melted chocolate after they've cooled.
Nutritional Breakdown (Per Serving)
- Calories: 380 kcal
- Total Fat: 26g
- Saturated Fat: 15g
- Cholesterol: 195mg
- Sodium: 85mg
- Total Carbohydrates: 32g
- Dietary Fiber: 3g
- Sugars: 24g
- Protein: 6g